The Ultimate Guide to Easy Candle Making Techniques for Beginners
Candle making has become more than just a hobby; it’s a creative outlet that many people find joy in exploring. Whether you’re looking to create cozy atmospheres at home or make thoughtful gifts for loved ones, the process of making your own candles can be both fulfilling and enjoyable. I created this guide to share easy techniques that will help you get started on your candle-making journey without feeling overwhelmed.
If you’re a beginner eager to learn the ins and outs of candle making, you’re in the right place. This guide is tailored for those who want to dabble in DIY crafts but might not know where to start. You’ll find clear instructions and handy tips that make candle making accessible and fun.
By the end of this guide, you’ll gain confidence in your candle-making skills. You’ll discover everything from choosing the right wax and tools to mastering the art of scenting and coloring your candles. Plus, you’ll get practical advice on troubleshooting common issues and even how to share your creations with others. So, let’s dive into the delightful world of candle making!
Key Takeaways
– Choosing the Right Wax: Understand the different types of wax available, such as soy, paraffin, and beeswax, and pick the one that best suits your needs.
– Essential Tools for Candle Making: Learn about the must-have tools for a successful candle-making experience, including molds, wicks, and thermometers.
– Scenting Your Candles: Discover how to effectively add fragrances to your candles, ensuring your creations smell as good as they look.
– Cooling and Setting Your Candles: Get tips on how to properly cool and set your candles for a perfect finish, avoiding common pitfalls along the way.
– Sharing Your Candles: Explore creative ways to present and share your candles, whether for gifts or selling at local markets.
1. Choosing the Right Wax for Your Candles

Finding the perfect wax is the first step in your candle-making adventure. With options like paraffin, soy, beeswax, and palm, each type brings something special to the table. Imagine the warm glow of a soy candle or the natural aroma of beeswax filling your space—each choice can greatly influence your final product. Choosing the right wax not only affects the scent but also the burn quality and environmental impact of your candles.
Start by thinking about your priorities: Do you want a long, clean burn? Are you looking for something eco-friendly? Consider testing different waxes to see which one resonates with you. Mixing wax types can also yield unique results, so don’t shy away from experimenting.
Key factors to consider:
– Determine your preferred scent throw and burn time.
– Explore eco-friendly options like soy or beeswax.
– Test how well different waxes hold colors if you want vibrant candles.
Taking your time to select the right wax can lead to a more enjoyable candle-making experience and beautiful creations.
2. Essential Tools for Candle Making

Before diving into candle making, gathering the right tools is essential for success. Quality equipment simplifies the process and improves how your candles turn out. A double boiler is great for melting wax evenly, while a thermometer helps you avoid overheating. Don’t forget a pouring pitcher for easy transfers and wicks that suit your candle size.
Stocking up on essential supplies like dyes, fragrance oils, and mold releases will also enhance your creations. To keep your workspace tidy, lay down some newspaper or a silicone mat beforehand.
Must-have tools include:
– Double boiler or wax melter for even heating.
– Thermometer to monitor wax temperature accurately.
– Pouring pitcher for smooth transitions into molds.
– Wick holder to keep wicks centered during cooling.
– Molds of various shapes for creativity.
Preparing your tools in advance can make the candle-making journey smoother and more enjoyable. Happy crafting!
3. Scenting Your Candles Like a Pro

The right scent can transform your candles into aromatic experiences that delight the senses. Using fragrance oils or essential oils allows you to customize your candle’s aroma to fit your mood. A good rule of thumb is to use about 1 ounce of fragrance per pound of wax, but feel free to tweak this based on your preferences.
Think about balancing top, middle, and base notes for a full-bodied scent. For instance, combining citrus with floral notes can create a refreshing candle, while spiced notes mixed with vanilla can evoke cozy vibes.
Tips for perfecting your scents:
– Conduct a smell test before finalizing your fragrance blend.
– Combine different oils to craft your unique signature scent.
– Be aware of scent strengths to prevent overpowering combinations.
Experimenting with scents can be one of the most exciting parts of candle making, so have fun and let your creativity flow!
Latest Posts
- Whispering Wonders: Handmade Bedroom Crafts That Bring Soulful Magic to Your Sanctuary

- Unlock Your Backyard Bliss: Creative Diy Outdoor Kitchen Transformations That Spark Joy

- The Ultimate Guide: How to Turn Your Passion for Candle Making into a Profitable Business
- The Ultimate Guide to Easy Candle Making Techniques for Beginners

- Advanced Candle Making Techniques: Mastering Scent Blending
- Step By Step: How to Launch Your Dream Candle Business from Home

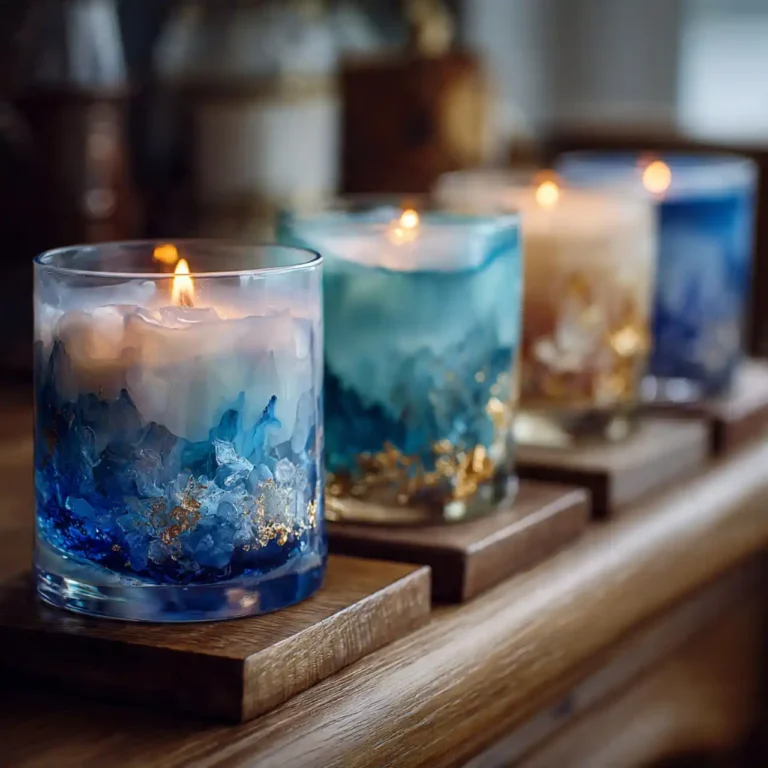
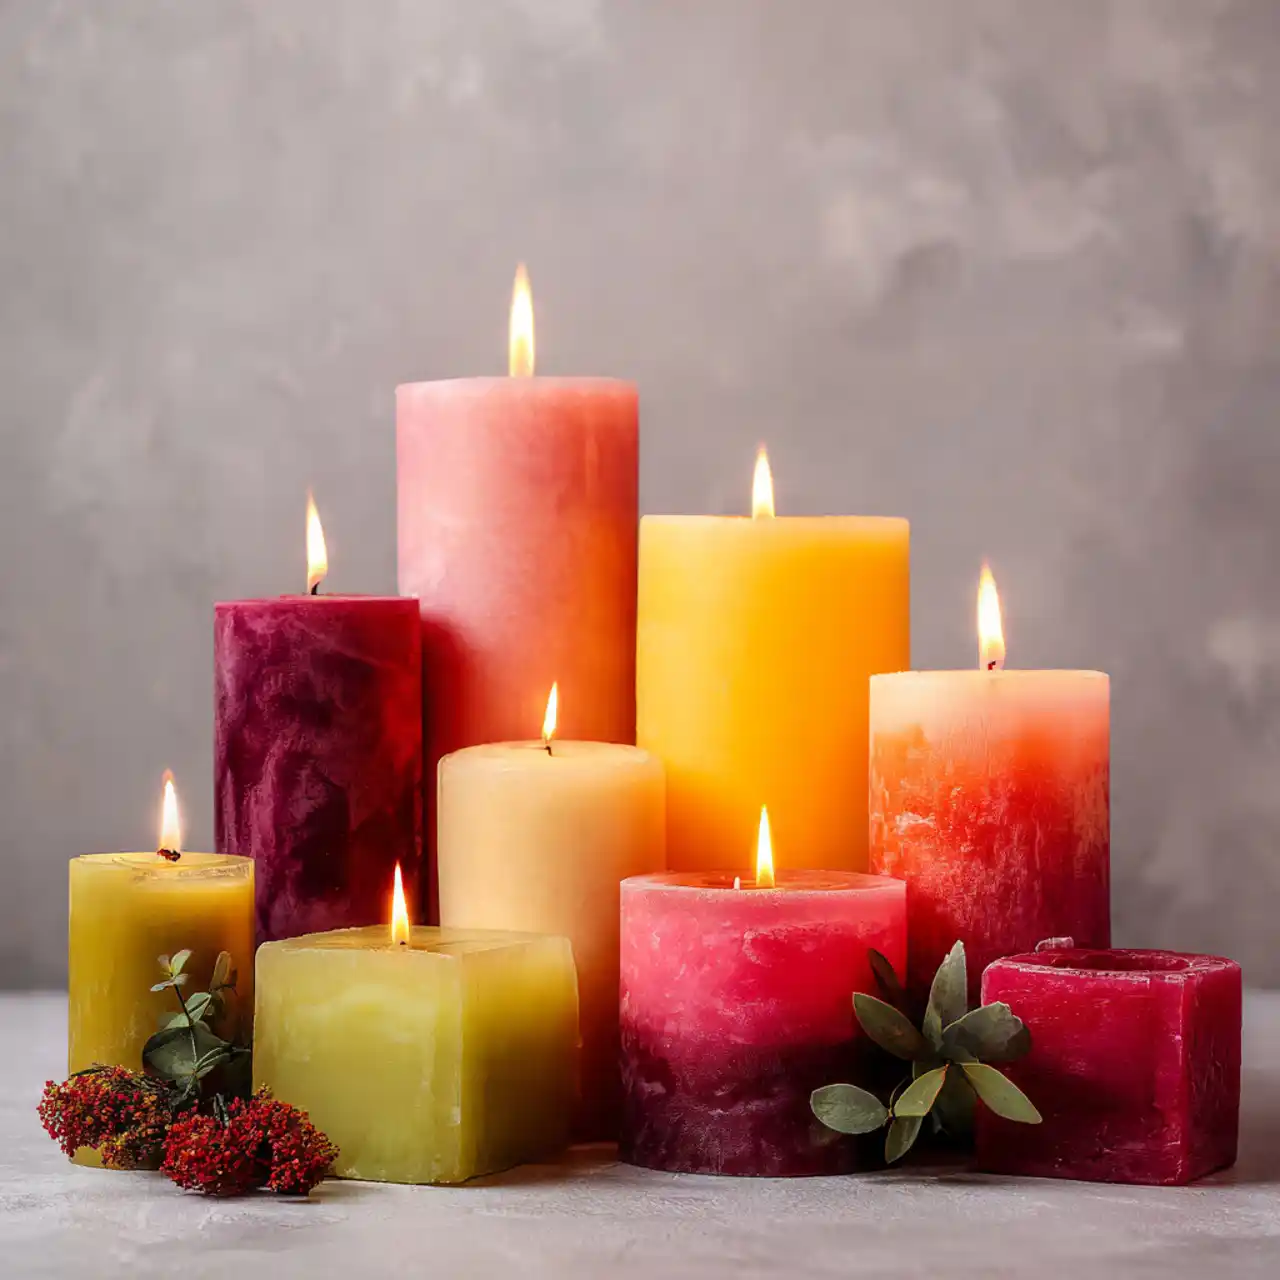
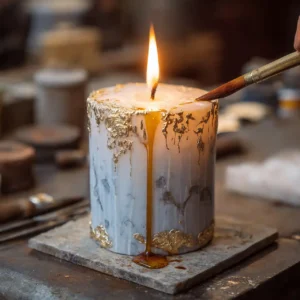
4. Mastering the Art of Coloring Your Candles

Adding color to your candles can elevate their visual appeal and reflect your personality. Candle dyes come in various forms—liquid, powder, and chips—each offering unique vibrancy and mixing capabilities. Liquid dyes are easy to use, while powder dyes allow for more precise coloring. Chips are perfect for creating layered effects.
Darker colors usually require more dye, so start small and gradually increase until you achieve your desired shade. You can also experiment with marbling and layering techniques for added flair.
Tips to enhance your coloring skills:
– Use a separate container for mixing colors to avoid unintended blends.
– Test your color in small batches to ensure satisfaction.
– Monitor color changes as the candle cools for the final look.
Coloring candles is a creative outlet, so embrace the process and enjoy the journey!
📹 Related Video: How to Color Soy Candles Using Candle Dye – 3 Ways to DIY Candle Dye
5. Easy Candle Pouring Techniques

Once your wax is ready, pouring is a key step that shapes your candle’s appearance and quality. Maintaining the right pouring temperature, typically between 160-180°F, is essential to avoid issues like cracks or bubbles. Pouring too hot can create surface imperfections, while pouring too cool may lead to poor adhesion.
For layered candles, allow each layer to cool slightly before adding the next. Pouring slowly and steadily into molds can help minimize air bubbles.
Helpful pouring tips:
– Use a wick holder to keep the wick centered during cooling.
– Gently tap the mold after pouring to release trapped air.
– Experiment with various pouring techniques to achieve unique designs.
With practice, pouring can transform into a satisfying part of your candle-making process, leading to beautiful results.
6. Cooling and Setting Your Candles

After pouring, patience is essential for perfecting your candles. The cooling phase greatly impacts their appearance and performance. Make sure your candles cool slowly at room temperature to minimize cracks and ensure a smooth finish.
Allow your candles to cool for several hours, following any guidelines provided by your molds. Once they’ve cooled completely, gently remove them and assess for any imperfections. If you notice issues, don’t fret; many can be creatively addressed!
Tips for the cooling process:
– Avoid rapid cooling in the fridge, which can cause condensation.
– Use melted wax to top off any sinkholes that form.
– Allow candles to cure for a few days for optimal scent release.
Taking your time during the cooling phase leads to a polished final product that you can be proud of.
Related Articles
- Whispering Wonders: Handmade Bedroom Crafts That Bring Soulful Magic to Your Sanctuary
- Unlock Your Backyard Bliss: Creative Diy Outdoor Kitchen Transformations That Spark Joy
- The Ultimate Guide: How to Turn Your Passion for Candle Making into a Profitable Business
- The Ultimate Guide to Easy Candle Making Techniques for Beginners
- Advanced Candle Making Techniques: Mastering Scent Blending
- Step By Step: How to Launch Your Dream Candle Business from Home
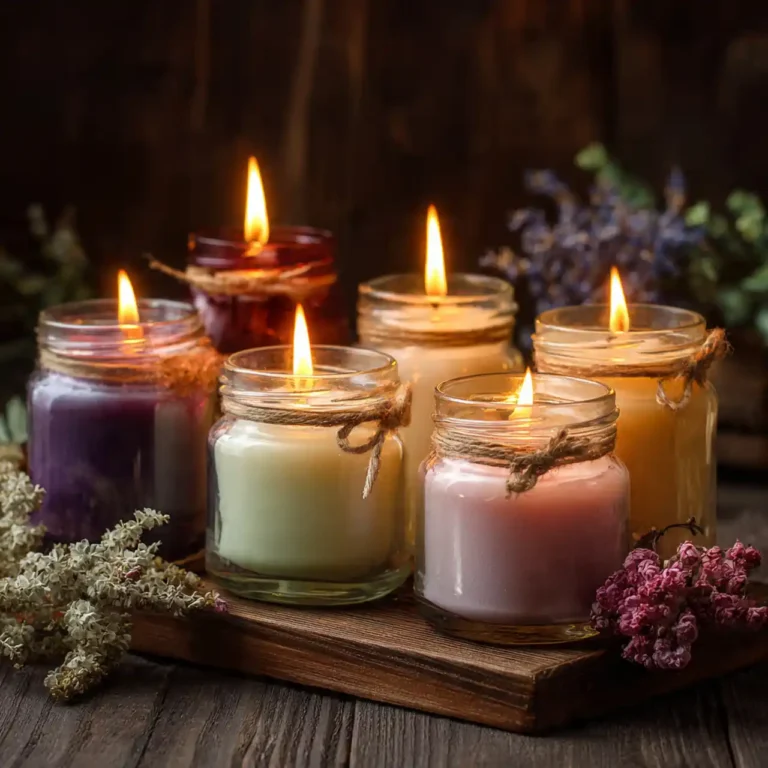
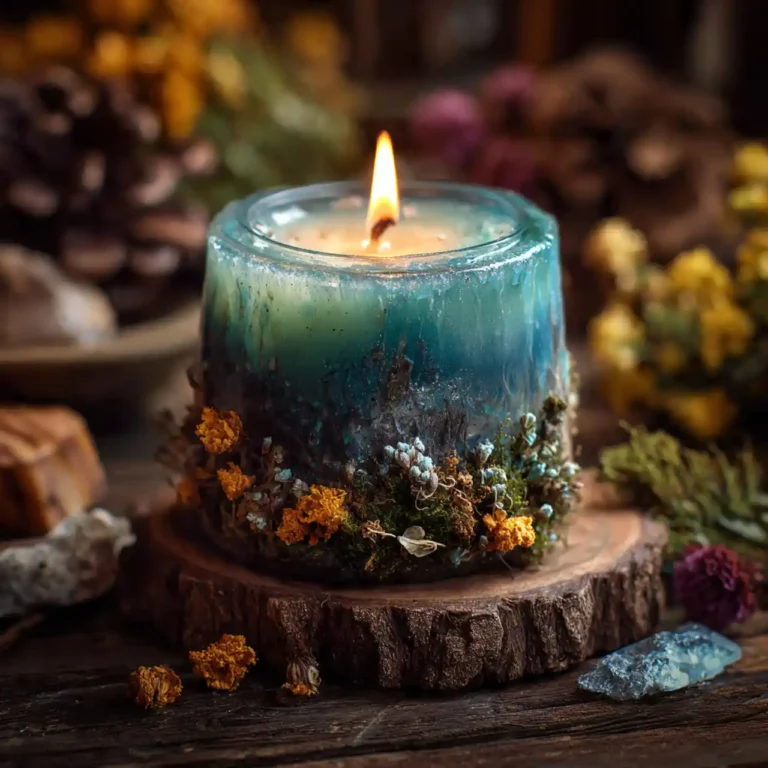
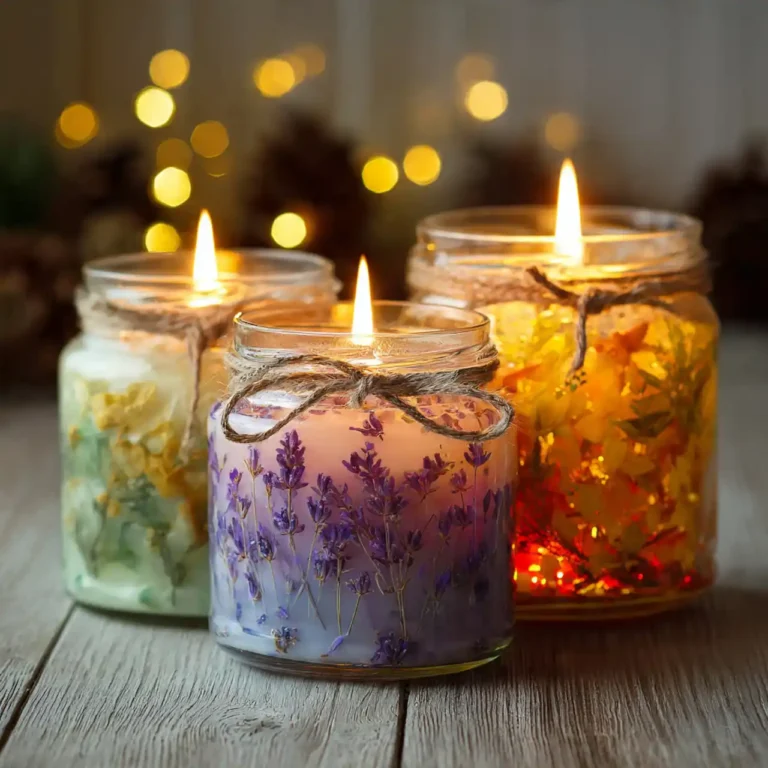
7. Customizing Your Candles

Customization is where your creativity shines in candle making. Personalizing your candles can turn them into unique gifts or stunning home decor. Adding elements like dried flowers or decorative accents can enhance both aesthetics and fragrance.
For a calming effect, consider incorporating dried lavender, or use citrus peels for a fresh scent. Unique containers like mason jars or ornate glassware can elevate the overall look. Labels also add a professional touch for gifting or branding.
Ways to customize your candles:
– Experiment with various textures and colors for a unique look.
– Use distinctive containers or molds to create special shapes.
– Design personalized labels for a polished finish.
Customizing your candles allows you to express your style and create something truly special.
8. Properly Storing Your Candles

Once your candles are complete, proper storage is crucial for maintaining their quality. Store them in a cool, dark area to prevent color fading and warping. Avoid direct sunlight, which can damage the wax.
Keep your candles in airtight containers or covered boxes to protect them from dust and moisture. Labeling by scent or occasion can help you easily find what you need.
Practical storage tips:
– Use bubble wrap for protection if stacking candles.
– Rotate your candles every few months to ensure even air exposure.
– Keep wick trimmers handy for maintenance.
Taking care of your candles after creation ensures they remain ready for use or gifting, preserving your hard work.
9. Troubleshooting Common Candle Issues

Even experienced candle makers encounter challenges along the way. Having troubleshooting strategies can save you from disappointment. Common issues include tunneling, uneven burning, and weak scent throw.
Tunneling happens when the wick burns down without melting the edges; this can often be resolved by adjusting the wick size. For uneven burning, consider shortening the wick or using multiple wicks for larger candles. If your candles lack scent, ensure you’re adding fragrance at the right temperature and in sufficient amounts.
Common problems and fixes:
– Tunneling: Check wick size and ensure a proper melt pool.
– Uneven Burn: Adjust wick positioning and length for balance.
– Weak Scent: Reassess fragrance concentration and mixing temperature.
Understanding these common issues will enhance your skills and prevent future mishaps in your candle-making journey.
How To Choose The Right Wax for Your Candles
Choosing the right wax is one of the most critical steps in candle making. The type of wax you select impacts the burn quality, scent throw, and overall appearance of your candles. Here’s a helpful guide to ensure you make the best choice for your candle creations.
1. Consider Your Candle Type
Decide what type of candle you want to make. Different waxes are better suited for various styles. For example, paraffin wax is great for beginners and is easily available. On the other hand, soy wax is popular for eco-friendly candles and has a good scent throw. Beeswax, while more expensive, burns longer and has a natural honey scent. Your desired candle type can help narrow down the options.
2. Look at the Burn Characteristics
Different waxes have unique burning properties. Paraffin wax burns hotter and can hold a stronger scent, but it may produce soot. Soy wax burns cooler and lasts longer but may not hold as much fragrance. Beeswax burns the longest and purifies the air but can be a bit tricky to work with. Assess your priorities; if you want a longer-lasting candle, beeswax or soy might be your best bet.
3. Evaluate Scent Throw
If scent is important to you, choose a wax that has a good scent throw. Paraffin typically holds more fragrance oil compared to soy. However, soy wax can still deliver a pleasant scent and is often preferred for its natural properties. If you’re planning to use essential oils, beeswax can also work well, but you might need more oil to achieve the desired scent.
4. Assess Your Budget
The cost of wax can vary widely. Paraffin wax is usually the most affordable, making it great for beginners. Soy wax is a bit pricier but worth considering for its eco-friendly benefits. Beeswax is the most expensive option, so if you’re just starting, it might be a good idea to experiment with either paraffin or soy first. Determine your budget to guide your selection process.
5. Check the Availability
Before you settle on a wax type, check local craft stores or online suppliers. Some waxes may be harder to find, especially specialty types like coconut wax or palm wax. If you have a specific style in mind, ensure that the wax you choose is readily available to avoid any frustrations during your projects.
6. Read Reviews and Recommendations
Finally, don’t hesitate to seek advice from other candle makers. Online forums, craft blogs, and YouTube channels are full of helpful reviews and tips on different waxes. Learning from those who have experience can save you time and money, making it easier to choose the right wax.
Pro Tip: When you’re just starting, consider purchasing small quantities of different waxes. This way, you can experiment without committing to large amounts. It’s a fun way to discover what you like best! 🚀
10. Sharing Your Candles with the World

After all your hard work, it’s time to share your creations with others! Whether gifting your candles to loved ones or selling them at markets, showcasing your work can be incredibly rewarding. Sharing also opens the door for feedback and potential improvements.
Use social media to document your candle-making journey. Create engaging posts or videos that highlight your process and finished products. Hosting candle-making workshops can also spread the joy of this craft.
Effective sharing strategies:
– Use platforms like Instagram or Pinterest to display your candles.
– Create an online shop or sell at craft fairs to reach more people.
– Seek feedback from customers to improve your future creations.
Sharing your candles fosters community and inspires others to explore the delightful world of DIY candle making!
💡
Key Takeaways
Essential tips from this article
🕯️
ESSENTIAL
Choose Quality Wax
Select the right type of wax, like soy or paraffin, to enhance your candle’s burn quality and scent throw.
🔧
BEGINNER
Gather Essential Tools
Equip yourself with basic tools such as a double boiler, thermometer, and wick holder for a smoother candle-making process.
🌸
PRO TIP
Scent Like a Pro
Use fragrance oils at the right concentration to create beautifully scented candles that fill your space.
🎨
ADVANCED
Coloring Techniques
Experiment with different colorants to achieve unique shades, adding a personal touch to your candles.
💧
QUICK WIN
Perfect Pouring
Pour wax at the correct temperature to prevent surface imperfections and ensure a smooth finish.
📦
WARNING
Store Properly
Keep your candles in a cool, dark place to maintain their quality and longevity before use.
Conclusion
Embarking on your candle-making journey can be a delightful and rewarding experience filled with creativity and exploration. From selecting the right wax to mastering pouring techniques and personalizing your creations, there are endless possibilities to make your candles unique. Remember, practice makes perfect, and every batch teaches you something new!
Don’t hesitate to share your creations and connect with others in the candle-making community. With these easy techniques, you’re well on your way to crafting beautiful candles that will light up your life and the lives of those around you.
Frequently Asked Questions
What basic supplies do I need to start candle making in this easy beginner guide?
Great question! For an easy starter setup in this candle making guide for beginners, grab a simple kit: a glass jar or container, soy wax (a forgiving option for beginners), a wick sized for your jar, a pouring pot or microwave-safe cup, a thermometer, and optional fragrance oil and color.
Steps to get started: set up a clean, heat-safe workspace; weigh your wax; melt it in a double boiler (or microwave in short bursts) until about 170–180F; add color if you’d like a tint; if using fragrance, remove from heat and stir in at roughly 6–10% of the wax weight (check your wax guidelines); center the wick in the jar; pour slowly and let the candle cool undisturbed.
Let the candle cure for 1–2 weeks for the best scent throw. Safety first: wear gloves and eye protection and never leave melting wax unattended.
What are some easy candle making techniques I can master quickly?
Here are a few easy candle making techniques you can master quickly in this guide:
1) Layered color blocks: pour one color, let a light crust form, then add a second color for bold stripes. This gives you a professional look without complex steps.
2) Simple marble or swirl: pour two or more colors at similar temperatures and gently swirl with a stick to create a subtle marbled effect.
3) Centered wick every time: use a wick holder or a pencil to keep the wick perfectly centered while the wax sets.
4) Fragrance discipline: start with a conservative fragrance load and test burn to dial in your preferred scent strength.
These techniques keep candle making fun, practical, and beginner-friendly.
How do I choose the right wax, wick, and fragrance for beginner-friendly candle making?
Choosing the right basics is key in this candle making journey.
Wax: start with soy wax for its forgiving nature and easy clean-up. Other options are beeswax (harder, richer scent) and paraffin (stronger scent throw but messier to clean).
Wick: pick a wick type (cotton or wood) and size that matches your wax and container diameter; consult a wick size chart or test a small burn to confirm a good melt pool.
Fragrance: use candle-safe fragrance oils and aim for about 6–10% of the wax weight for soy; for beginners, 3–5% can still deliver a pleasant scent without risking issues.
Tip: always run a test burn with a small batch before scaling up and adjust based on scent throw and burn behavior.
What are the most common mistakes beginners make with candle making, and how can I avoid them?
Common beginner pitfalls and how to dodge them:
1) Wick off-center or too small: center the wick securely and use a wick holder.
2) Pouring at the wrong temperature: pour at the recommended range for your wax to prevent sinkholes or frosting.
3) Not enough fragrance: start with a proper fragrance load and test burn to gauge scent throw.
4) Not curing long enough: allow candles to cure for the optimal time (often 1–2 weeks for soy) before burning.
5) Poor safety or messy workspace: keep your area clean, use heat-safe tools, and never leave melting wax unattended. By following these tips, you’ll nail practical, beginner-friendly candle making results.
Can I make scented candles at home with low-cost supplies and still get good results?
Absolutely! You can achieve great results at home with a modest budget. Start with a simple starter kit and a single fragrance to keep things affordable.
Good value tips: choose a basic soy wax, reuse clean jars, and opt for candle-safe fragrance oils rather than essential oils, which can be unpredictable in candles. Weigh ingredients with a scale, pour carefully, and allow for proper curing.
Test a small batch first to dial in fragrance strength and burn quality. With patience and practice, you can create lovely, smelling candles without breaking the bank.